Free Christmas paper and tags Printable
I know everyone is super busy at this time of year, so here is a tutorial and a FREE printable to make these cute teacher or classmate gifts that look like you spent hours on.
They’re super quick to do and you can get the older kids to help out too! Here’s how I made them, but you could do endless options using this method. See my Speedy Circle Wrap Repurpose Art Challenge #5
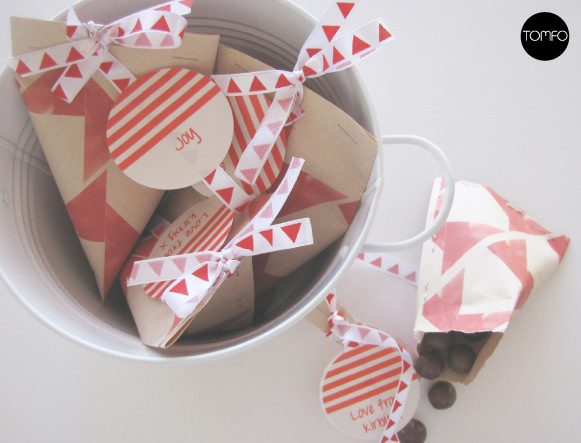
YOU WILL NEED: TO MAKE 6 PARCELS
Download the FREE Christmas Paper Pattern + Round Labels here
6 X A4 paper + printer + FREE pattern printable
Stapler
Lollies (I used 1 x bag Jaffas and 3 x bags Maltesers)
2 rolls of ribbon
2 sheets of Avery stickers or 2 extra A4 pieces of paper + FREE round label printable
Scalpel or scissors
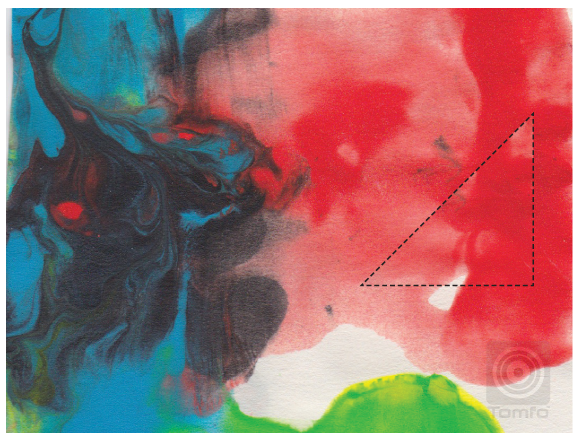
As part of my Repurpose Art challenge, I repurposed my little guys artwork into a pattern, using this section in the triangle part of his artwork. I found some cute red and white triangle patterned ribbon at the two dollar shop, hence the inspiration for this design.
Then I made up this pattern. You can download the pattern, it’s A4 and you will get two parcels from one sheet.
Download the FREE Christmas Paper Pattern + Round Labels here

Download the pdf and print out 6 copies onto A4 paper, I used a Kraft paper, however plain old A4 copy paper will also work. (Your final package will be white instead of the kraft colour.)
Cut the paper in half so you have two A5 sheets, (cut on the longest side). Then fold again on the longest side to make a pocket, (don’t flatten these down, see pic below.)
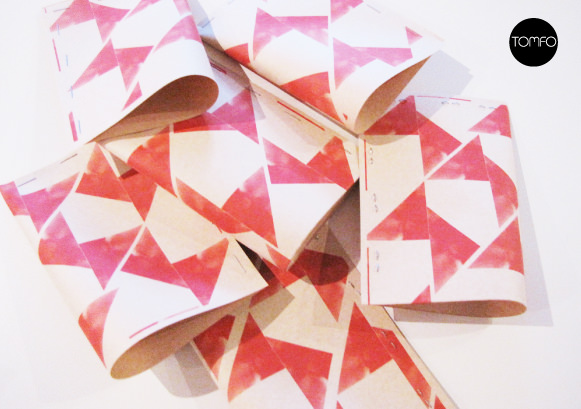 Using a stapler, close 2 sides together, leaving an opening for your lollies.
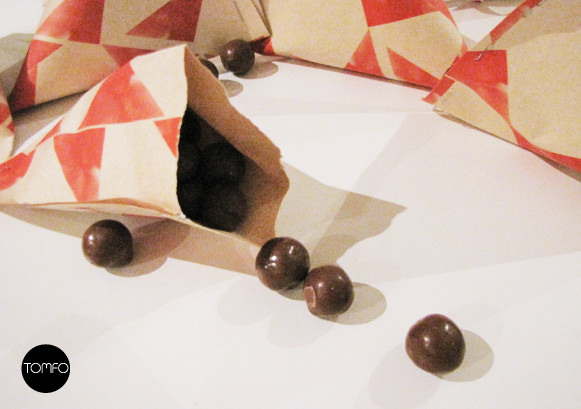 Then fill with your choice of treats, I used Maltesers and Jaffas (a large packet made me approx 3 parcels.)
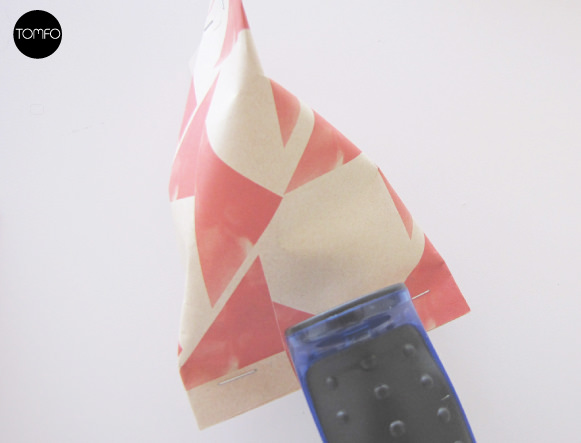
Then staple together on the opposite side to close.
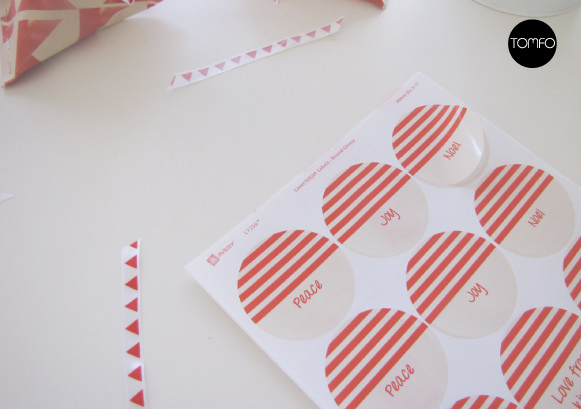 Print out 2 copies of the Free labels (available in a choice of buff or white) onto an Avery sticker sheet, (or A4 reflex paper and cut out with scissors)
Then cut some ribbon into lengths and place or glue depending on whether you used the sticker or paper option.
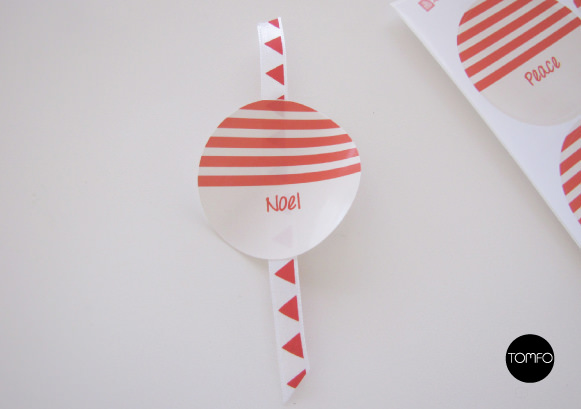
Add a second round label to the other side to finish the tag.
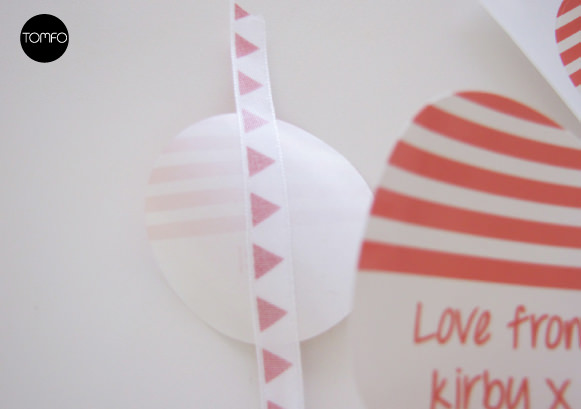
I cut a small slit at the top of the parcel and threaded the ribbon through, then tied in a bow, however, you could also hole punch and thread the ribbon through.
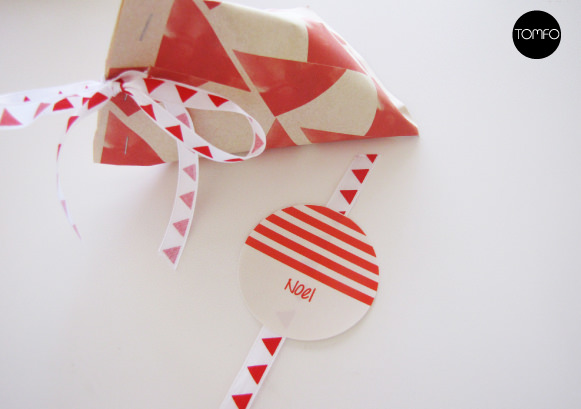
To secure the tag, I attached the top of the tag’s ribbon underneath the bow and secured with a stapler.
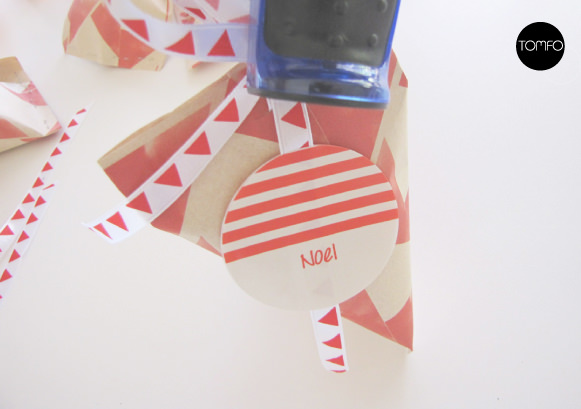 If you want to skip the tag step, add the ribbon and tie in a bow then simply write on the gift with a silver pen.
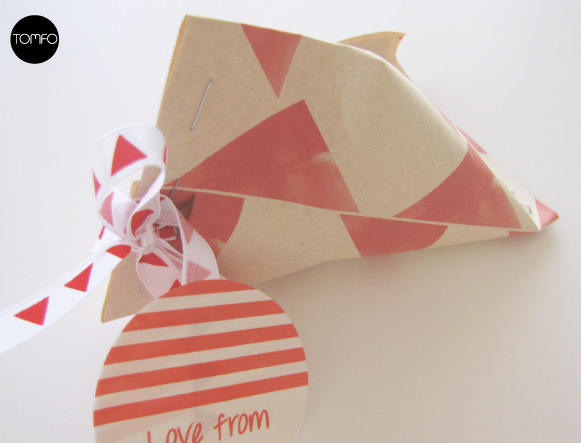
I love how this turned out… a collaboration from me and the little guy…Gorgeous…but then I’m biased!
It’s a cute gift you can give to teachers and friends that won’t break the bank, or get creative and make up your own using your kids art, christmas paper, newspaper etc, you can see more of my wrapping ideas here.
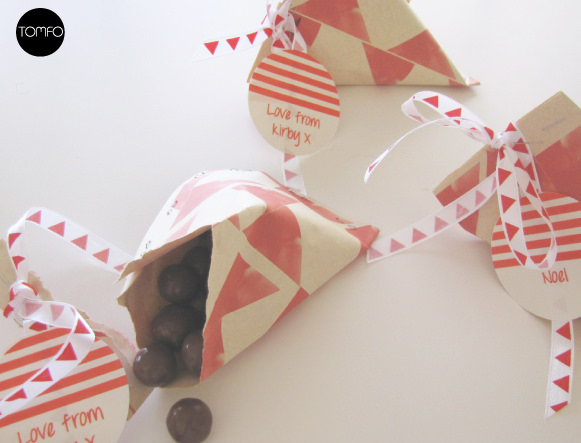
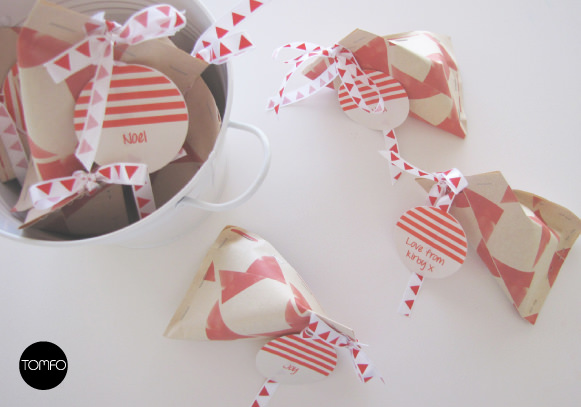
Download the FREE Christmas Paper Pattern + Round Labels here
I hope this helps if you are looking for a quick, and original gift that’s not to expensive to make, those little gifts add up after a while and who doesn’t love chocolates! I’ve made a few extras to keep on hand incase I get a few surprise gifts too!
This is my Repurpose Art Challenge #9 you can view my other challenges here.
Live with love,
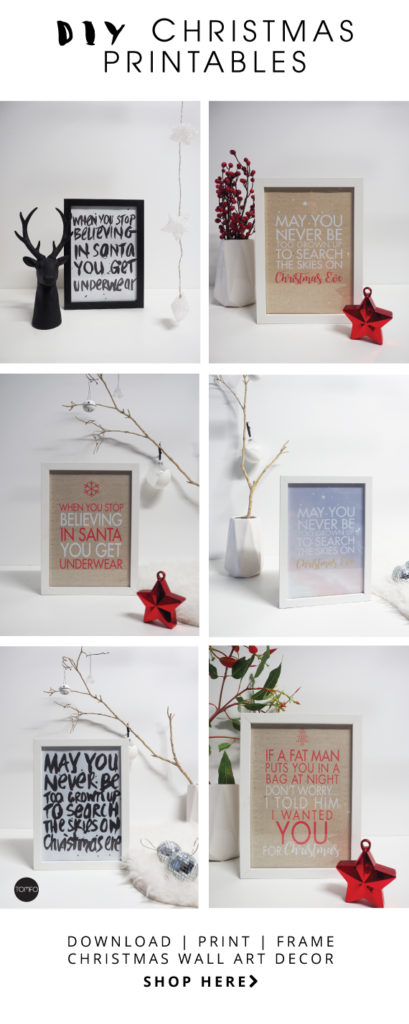
PS: Why not check out some of my DIY Christmas prints for your home this Christmas.
READ MORE POSTS
3 responses to “Free Christmas paper and tags Printable”
Leave a Reply



 Hi I'm Sarah, I'm a blogger and an artist who’s made the sea change and moved to the north coast of Australia. I love an easy DIY and making my house my canvas, my new home has become my greatest project: Yamba Scandi. Come visit me in




These are so adorable, my daughter would have so much fun making these. Thanks for linking up with my Christmas Link Party. xx
Malinda @mybrownpaperpackages recently posted…Christmas Link Party
These are lovely home made ideas, I like home made for the teacher gift; my son has made shortbread cookies and decorated them himself.
Oh that sounds gorgeous, I think homemade stuff is rewarding… making it and giving it too. Have a wonderful christmas.